Creating stunning food photography with we eat together
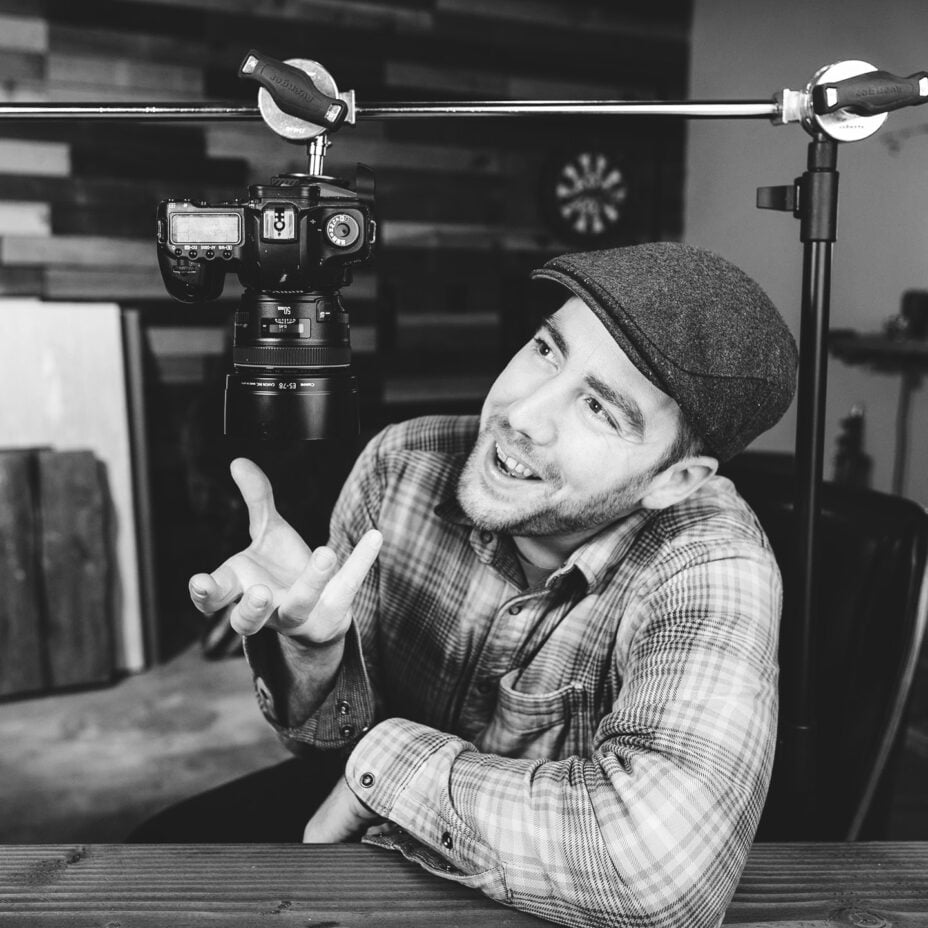
Skyler Burt is the voice behind We Eat Together, a website and YouTube channel where he aims to help inspire his more than 220,000 subscribers to deepen their passion for food photography and improve their skills along the way.
Why did you become a photographer and what made you interested in food photography specifically?
I first wanted to be a landscape painter, hilariously enough. I hitchhiked around the USA taking snapshots of some of the beautiful scenery that I wanted to paint. I showed the photos to a gallery and they said I should study photography in college. Which I think was a nice way of saying my images sucked and that I should go learn something. So I did just that and majored in photojournalism.
I was first interested in travel photography, but I didn’t know much about the industry or at least how to get paid to do it. However, after cold calling and setting up meetings with creative directors, I started getting commercial work with high-end resorts and tourism boards and my travel photography slowly started morphing into food photography. Now I’m 100% food photography, yet I’d never turn down an opportunity to travel.
How would you describe your style of photography? Any signatures to how you shoot your photos (focus/lighting/etc.)?
For my personal work, it’s really hard for me to describe my own style. Some people have said that my images are like controlled chaos or that I’m a master of mess. I like that description, because I believe styling and composition are really the only things truly unique about food photography.
As far as lighting, I tend to gravitate towards dark and dramatic. I use artificial lighting, which ultimately, I’m using strobes to replicate beautiful soft diffused natural light. I don’t know if I have any signature techniques, but one of my most popular YouTube videos is how to create a professional product shot using only a single light. The whole point of that video is to find creative solutions and get the most out of the gear you have, which is kind of what my whole channel is about.
Can you tell us a little about your website We Eat Together, why you started it and what you hope people take away from visiting?
We Eat Together was born out of my frustrations being a studio lecturer at university and not finding any valuable information to share with my students about food photography. There is a huge community of people there that are either really curious about working as a professional food photographer or who simply love food and sharing their recipes with the world. I wanted to create a space with articles that all could learn from and a variety of courses if they want to dive even deeper into improving their skills.

In the age of the smartphone, it’s easy for everyone to feel like they are a budding food photographer, but getting professional-looking photos of food can be difficult. Without giving away all your secrets – any tips you can share to help people create stunning food images?
Just like all types of photography, I believe food photography relies heavily on a beautiful subject, but you need great light and composition to make even the most delicious subject look appetizing. Having some nice lenses and a camera is great, but even if you’re shooting with a smartphone, you can make some great images.
My biggest tip is always to try and make your food the brightest part of your image. Flat light without shadows or highlights is a photo killer. You want your food to pop off the background, and having that subject be the brightest element in your image will make it stand out from the scene. Another simple tip is to use just a single light source, whether that’s your window or some artificial light, make sure there is only one light from a single direction entering your photo. This will make sure you have appropriate contrast with no mixing of different types of lights and color temperatures.
Editing plays a big part in food photography – with everything from image selection to fine adjustments playing a big role to help the subject look its best. process. Can you walk us through your usual process?
My usual editing process starts with image selection. I typically use Capture One to shoot tethered from my camera to my computer, so the images appear as I take them (which I have a custom button now on my Loupedeck CT that fires off my camera when I press it!) After the shoot comes to the long process of selecting the winning shots; sometimes I know right away and I rate the shots as I take them, but other times I’m sifting through 500 or so images per shoot.
After I’ve made my selections, I’ll start to develop the images using the sliders either in Capture One or in the Lightroom develop module. I usually create a general adjustment with things like white balance, exposure and contrast then sync those basic adjustments to all the other images I took during that session.
After the RAW images are processed, I’ll move over to Photoshop to remove blemishes, pieces of food that got out of place or to do more advanced composites combining multiple images together.
What were your first impressions of the Loupedeck CT?
It’s a beautiful product, I mean just looking at it, it looks great on the desk. I’m not going to lie, it was tough at first because I only have ever used the keyboard. However, after testing it out and working with it for a week or so, I was easily able to use it without taking my eyes off the monitor. It just took time for my brain to memorize where the dials and buttons are, but now it’s really fast.

How did Loupedeck make a difference to your editing?
For me the Loupedeck made two big differences in my editing process. One being speed and the other is simultaneously looking at the image while using the sliders or brushes. For me the Loupedeck shaved off time in a lot of areas, whether that’s replacing a hotkey with a single button or dial, or being able to create my own custom buttons, it saves time in small increments that add up over the long run.
The other area, being able to simultaneously look at the image while using the sliders or brushes when I’m color correcting my images is a huge improvement over using the software and mouse. It’s just a lot more fluid for me, I’m not as concerned with the numbers on the panels anymore as I am now with how the images look while I’m adjusting. I also use a lot of adjustment brushes and masks, so being able to control the size and feather of the brush with the dials on the Loupedeck makes the experience a lot more like using a Wacom tablet, instead of mashing the keyboard all day long.
A lot of your final images are composites – how has the Loupedeck CT made the composite editing process for easier for you?
Again, I use a lot of brushes to create masks for compositing images, but also to do local adjustments making the image brighter or darker in areas. Being able to control the size and feather of the brush without having to mash the keyboard all day is a huge difference. It’s faster and less cumbersome. I also loath taking my hand off my mouse when I’m compositing, and I feel like I rarely have to do that at all now while using the Loupedeck.
You create a lot of food videos and commercials as well. How has the Loupedeck CT affected your video editing workflow and made the editing process easier?
For me it’s the simple things, like scrubbing through my timeline, moving between clips that are just faster with the Loupedeck and again lets me keep my other hand on the mouse. It’s also things like being able to move the playhead one frame over with the dial, or easily zoom in and out on the timeline with the twist of a dial. Small things like that, which were always little frustrations that are now simpler.

As part of your job, you work with various people on-site, particularly food stylists. Have you been able to integrate the Loupedeck CT into your on-site shooting and what kind of difference has it made?
Yeah so that’s a funny thing, on set I always shoot tethered to my laptop, and the client or food stylists will often want to either take a picture, rotate, rate or cycle through the images. I would always have to show them how to do it in the software or tell them what the hotkey was, and most of the time it would be confusing, or I would have to explain it multiple times throughout the shoot. So now with the Loupedeck, I’ve created a couple of custom controls on the touch buttons that are clearly labeled for when clients or food stylists need them.
Would you recommend the Loupedeck to other creatives?
I would definitely recommend the Loupedeck to my friends and other creatives who do a lot of image or video work. I think it has a lot of fun and practical applications for speeding up that editing workflow but also on set as well. When you do a lot of editing and post-production, seconds add up to hours and days over the long term, so anything that will shave off time during that process is extremely valuable from a time standpoint.


